

FAQs
How do I apply the Custom Vinyl Firearm Stencils?Step 1: Prep Your Surface
Before touching the vinyl, ensure your firearm or project surface is completely clean, dry, and free of oils, grease, or solvent residue.
Tip: Wipe down the area with isopropyl alcohol (91% or higher) or a dedicated degreaser and let it dry completely. Any remaining oils will prevent the stencil from sticking properly.
Step 2: Prep the Stencil (Weeding)
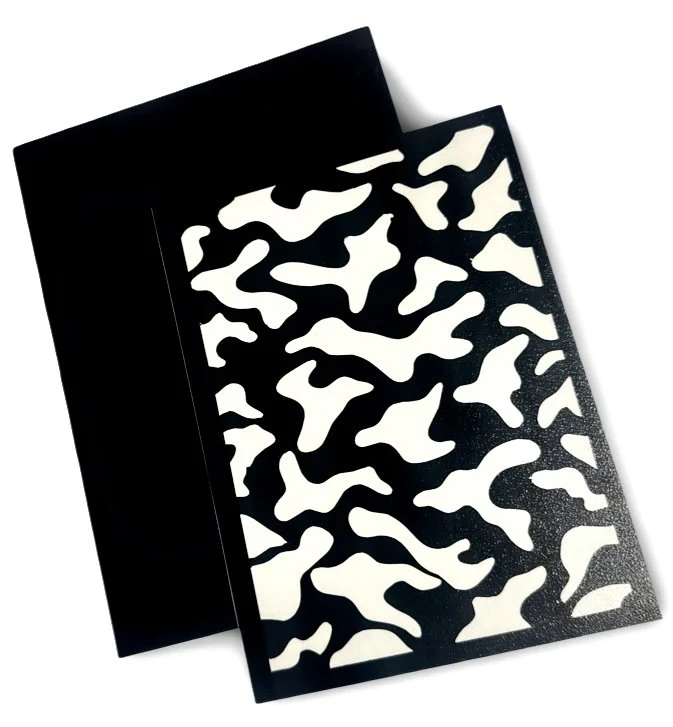
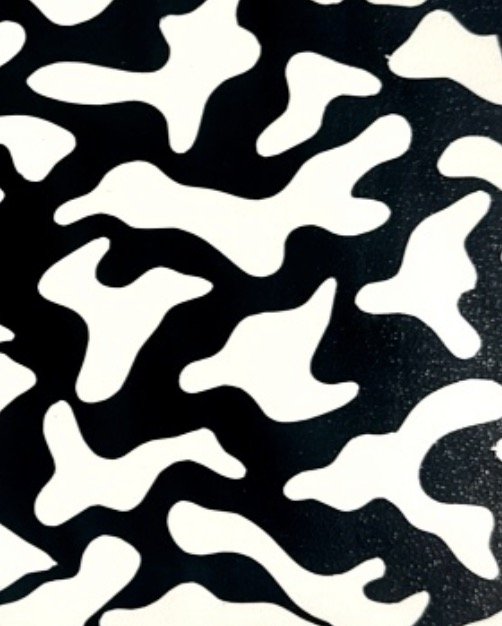
If you are using an “Untouched” sheet, you need to "weed" it first.
Use your tweezers or the pointed end of the wooden orange stick to carefully peel away the parts of the vinyl pattern you want to apply coating to on the firearm.
If you are using a pre-weeded sheet, you can skip straight to Step 3.
Step 3: Apply the Transfer Paper
Transfer paper acts as a vehicle to move your vinyl design from its backing paper onto your project without losing the shape or spacing of the stencil.
1. Peel the paper backing off the transfer paper sheet.
2. Hover the sticky side of the transfer paper over your vinyl stencil. Start from one edge and slowly lay it down over the stencil to avoid trapping large air bubbles.
3. Take your plastic scraper and firmly press (burnish) the transfer paper onto the vinyl. Rub from the center outward. This activates the adhesive and forces the vinyl to stick to the transfer paper.
Step 4: Peel the Vinyl Off the Backing
1. Flip the whole piece over so the vinyl backing paper is facing up.
2. Slowly peel the thick backing paper away from the transfer paper at a sharp angle (flat against itself, rather than pulling straight up).
3. Watch closely: Ensure all the small, intricate pieces of the vinyl stencil are sticking to the clear transfer paper. If a piece stays on the backing paper, lay it back down and rub it firmly with your plastic scraper or the flat edge of the orange stick, then try peeling again.
Step 5: Place and Secure the Stencil
1. Carefully position your stencil over the firearm. Once it touches the surface, it will stick, so take your time aligning it!
2. Press down from the center out to avoid bubbles or wrinkles.
3. Use your plastic scraper to firmly rub the design onto the surface. For tight corners, crevices, or recessed areas around the receiver or slide, use the rounded edge of the wooden orange stick to mold the vinyl into the contours.
Step 6: Remove the Transfer Paper
1. Slow and steady wins the race. Grab a corner of the transfer paper and slowly peel it back at a 45-degree angle, keeping it flat against the surface.
2. Use your gloved fingers or the orange stick to hold down any stubborn vinyl edges as you pull the transfer paper away.
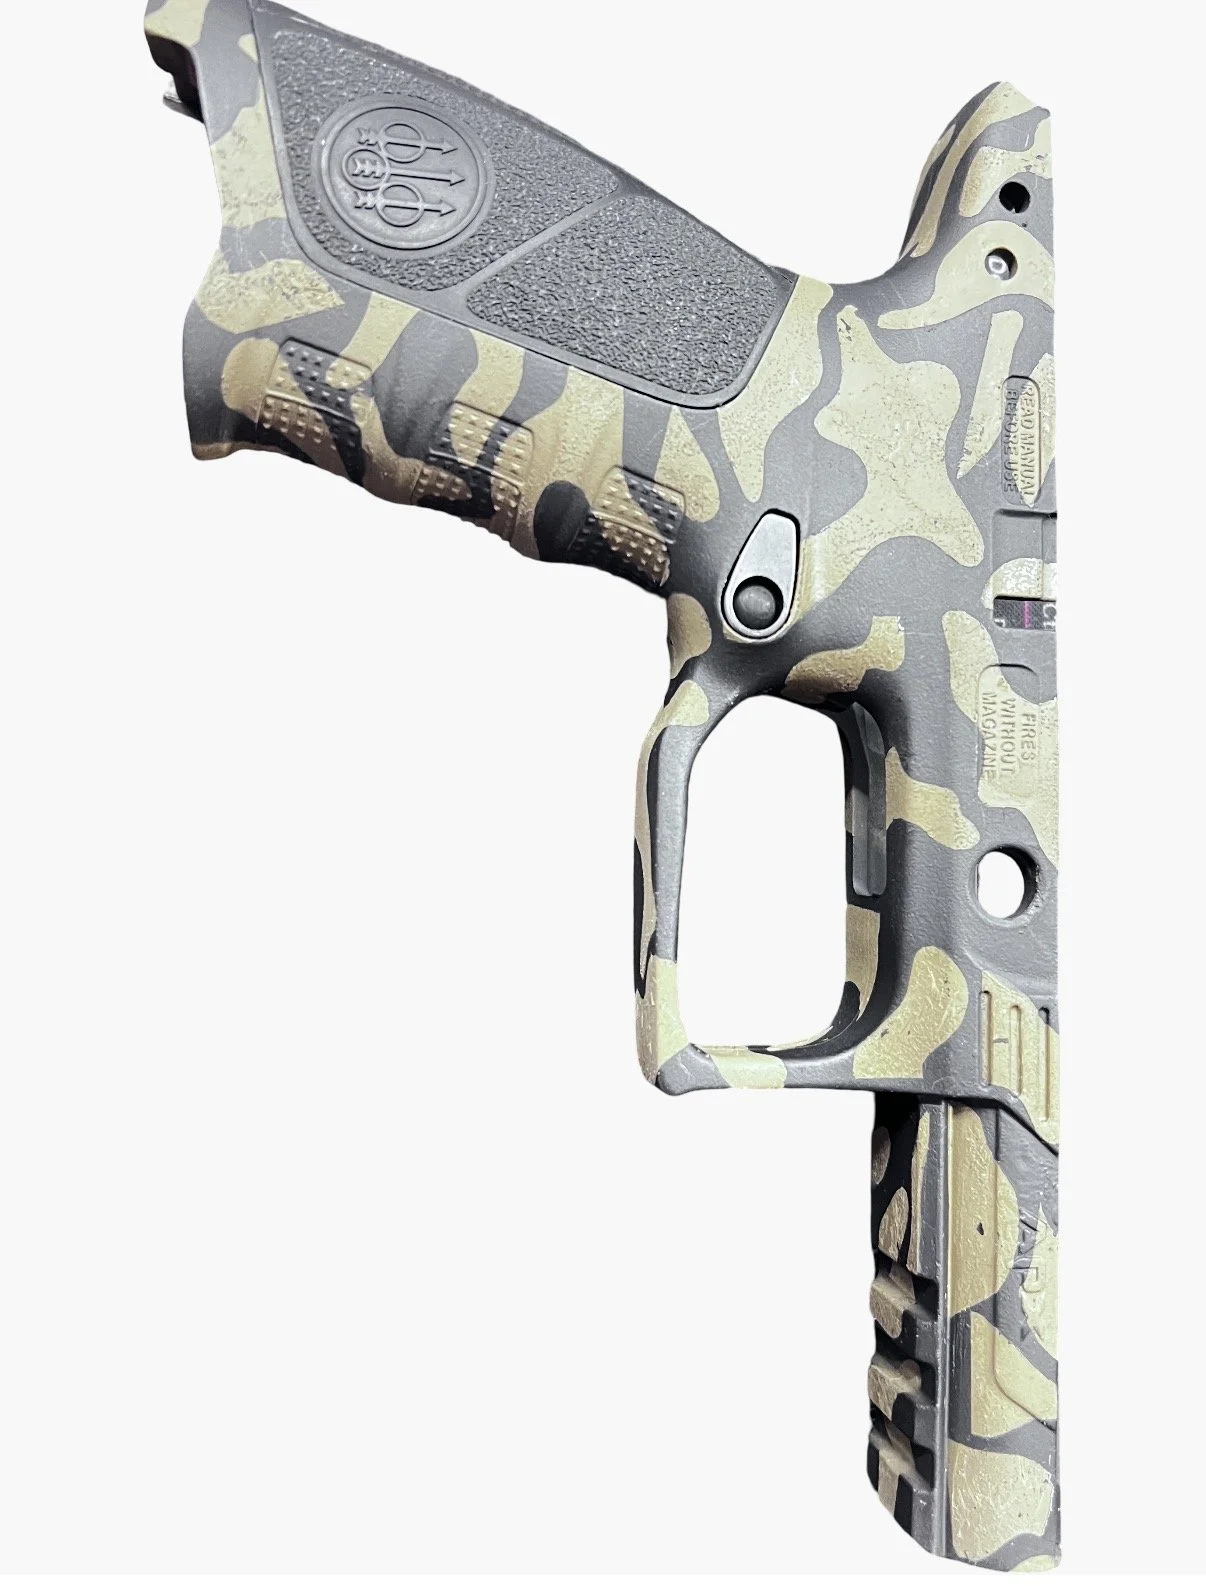
3. Once the transfer paper is completely removed, do a final inspection. Use your gloved finger or the flat edge of the orange stick to firmly press down all the edges of the vinyl stencil to ensure no paint, Cerakote, or spray gets underneath.
Pro-Tip for Cerakote/Paint Applications: Because Cricut Smart Vinyl (both removable and permanent) can become more pliable under heat, ensure your project surface is completely cool before applying stencils. If you use a flash-cure cycle between layers, let the part cool down to room temperature before sticking the next stencil layer on!
Pro-Tip for Air-Cured and Heat-Cured Cerakote/Paint Applications: We have successfully tested both removable and permanent Cricut Smart Vinyls. However, for heat-cured Cerakote applications, the removable variant is easier to take off.